PD Measurement Guide
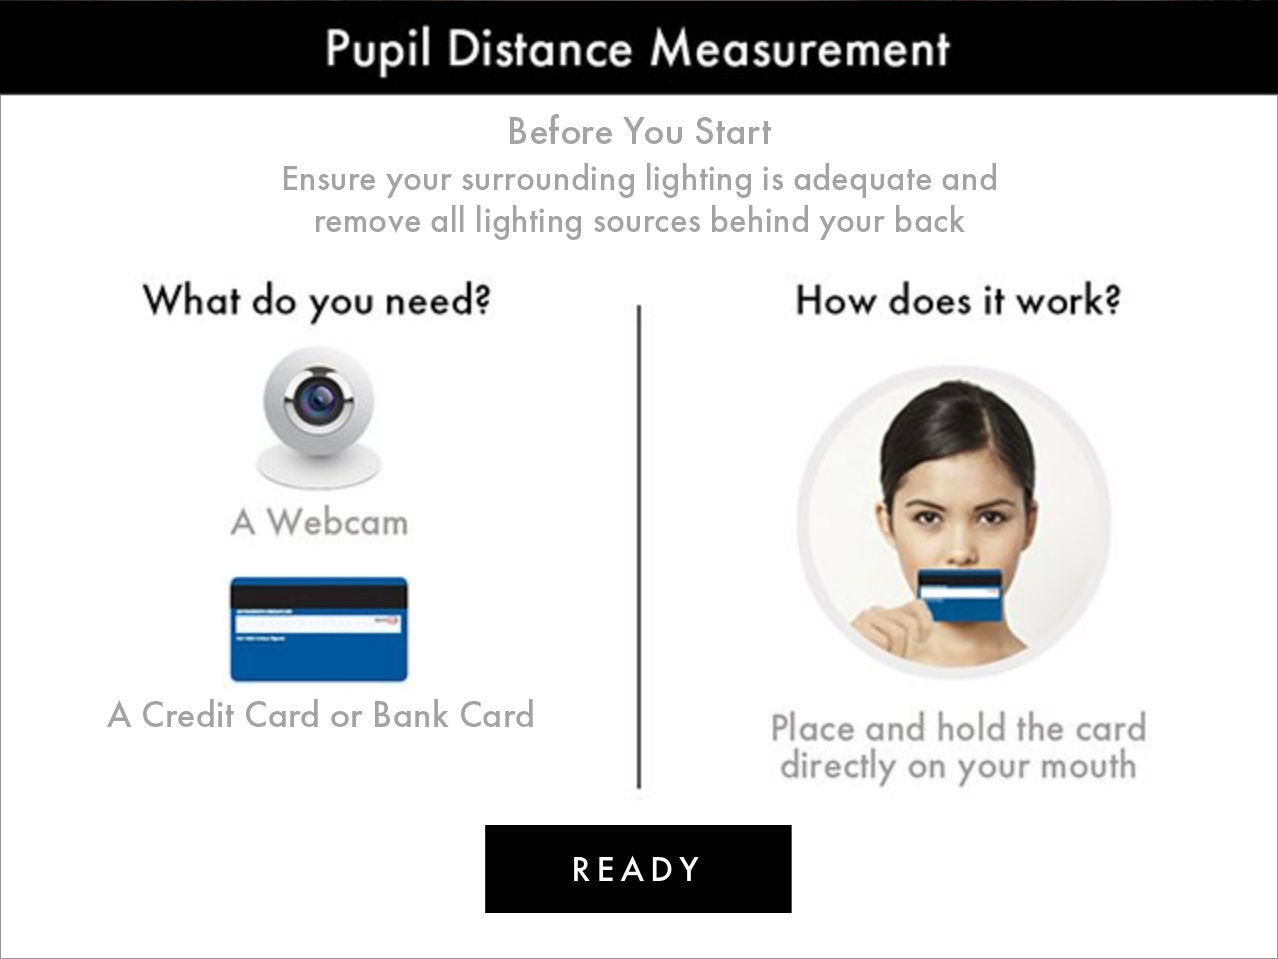
Using this tool is simple and easy. In just a few moments, you will have your PD measurement ready for your new pair of glasses. Before you start, you can read this guide to see what you need to know and prepare before using it. Don’t worry, we will not be collecting your information.
Simply follow the simple steps below, and you will have your measurement within seconds!
STEP BY STEP GUIDE
Before You Start: You will need a credit card, debit card or any card that is the same size as the aforementioned. You may also want to ensure your room is well lit as you will be taking a picture of yourself.
Step 1 – preparing the place

Ensure your surrounding lighting is adequate and remove all lighting sources behind your back.
Step 2 – taking a good picture

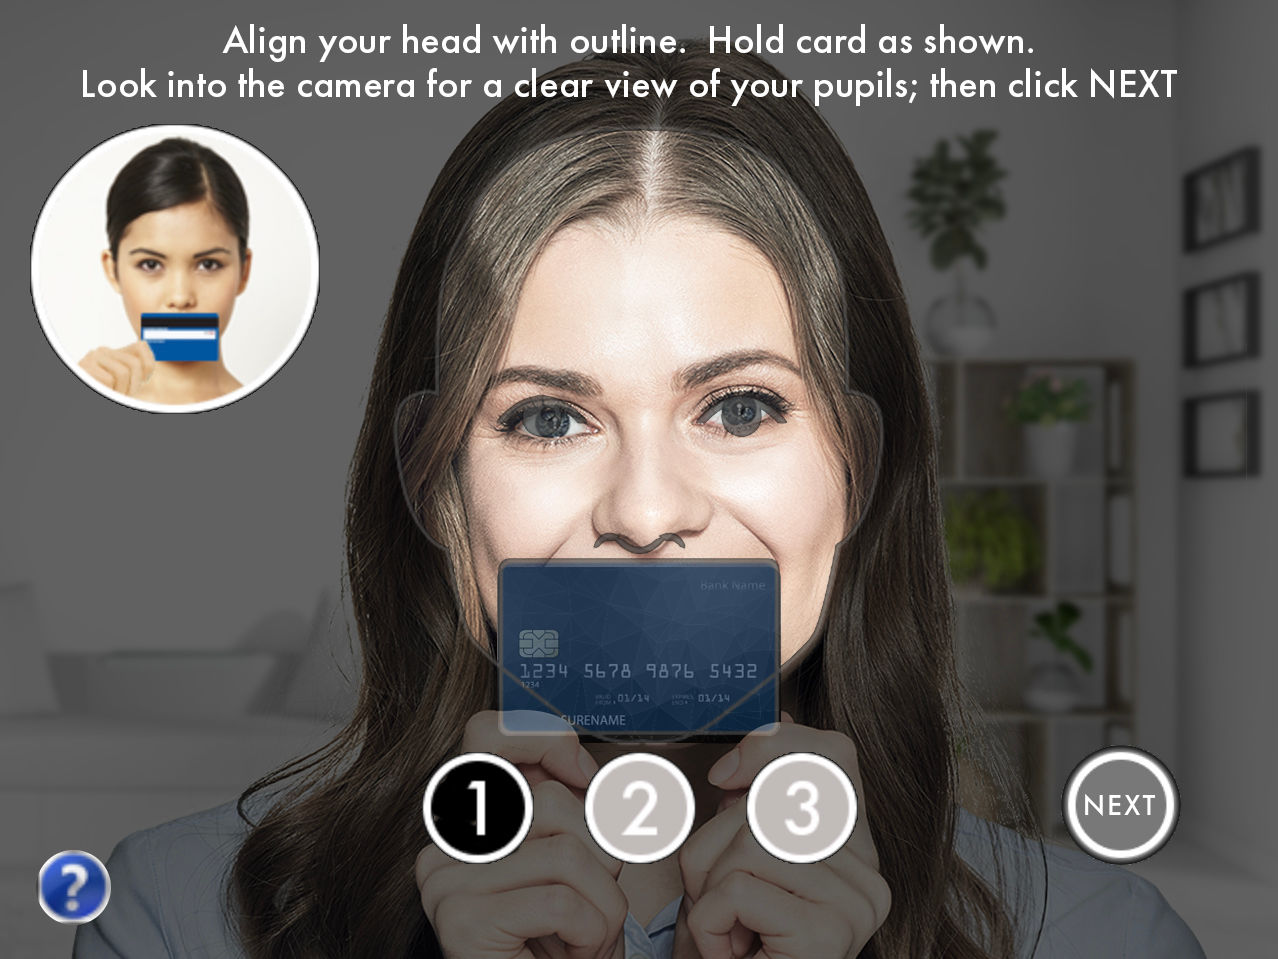
Align your head with the on screen impression.
Ensure your eyes are lined up near where the indicators are on screen. Your head may not fit perfectly with the outline, but as long as your eyes align, the deviation should be minimal.
Before you hit next, look into the camera so you can see the iris clearly in the next step.
Step 3 – make sure all the measuring tools are in place

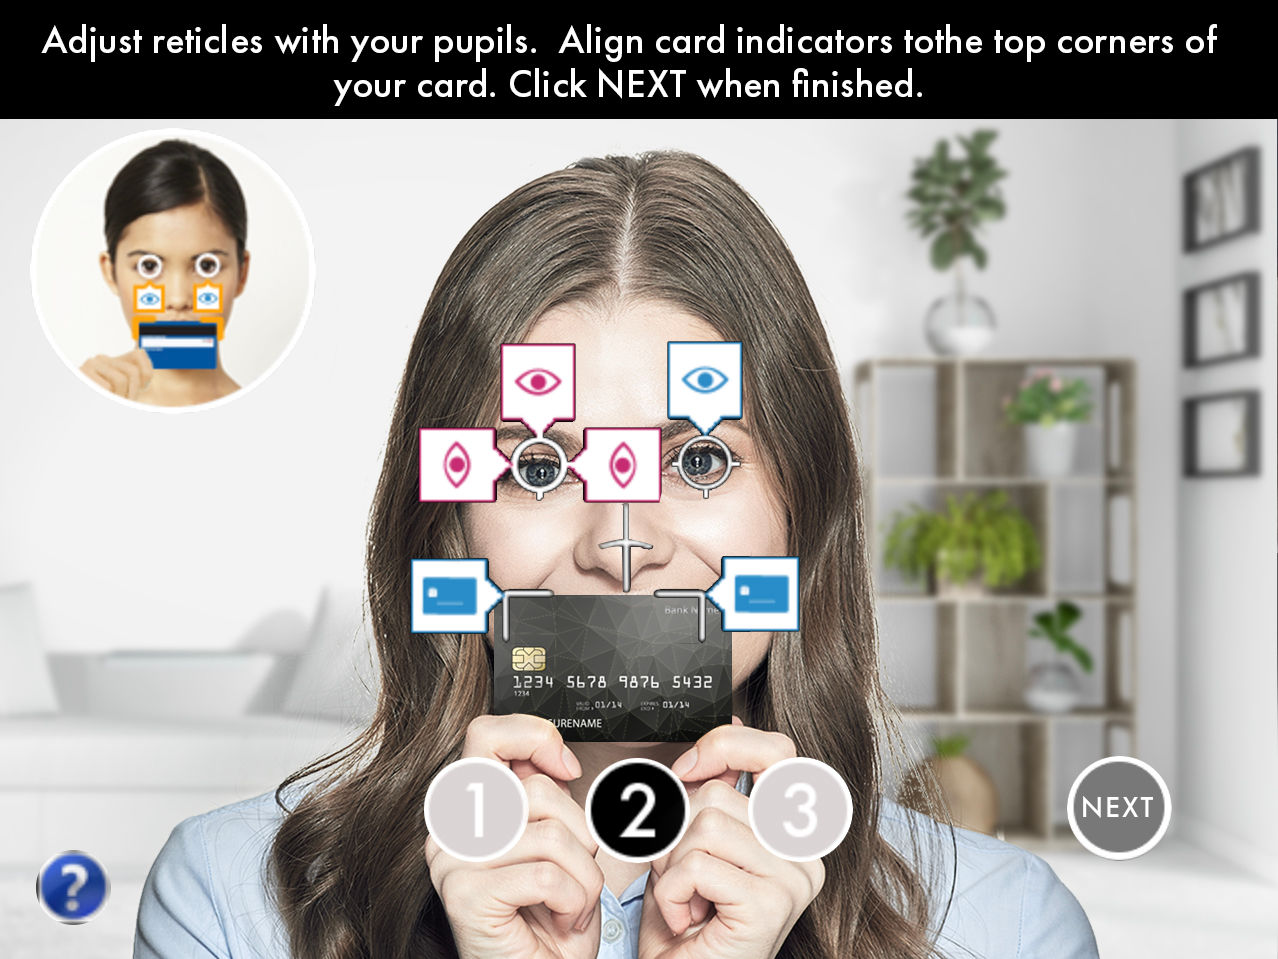
Make sure all the dots and lines are where they should be.
Line up the two reticles onto both eyes, and drag both corners of the card indicators to line up with both top left and top right corners of the card. Once all the lines and circles are in place, you are good to go.
If you have trouble identifying the iris and the edge of the card, consider retaking the picture with better lighting.
Step 4 – getting your result

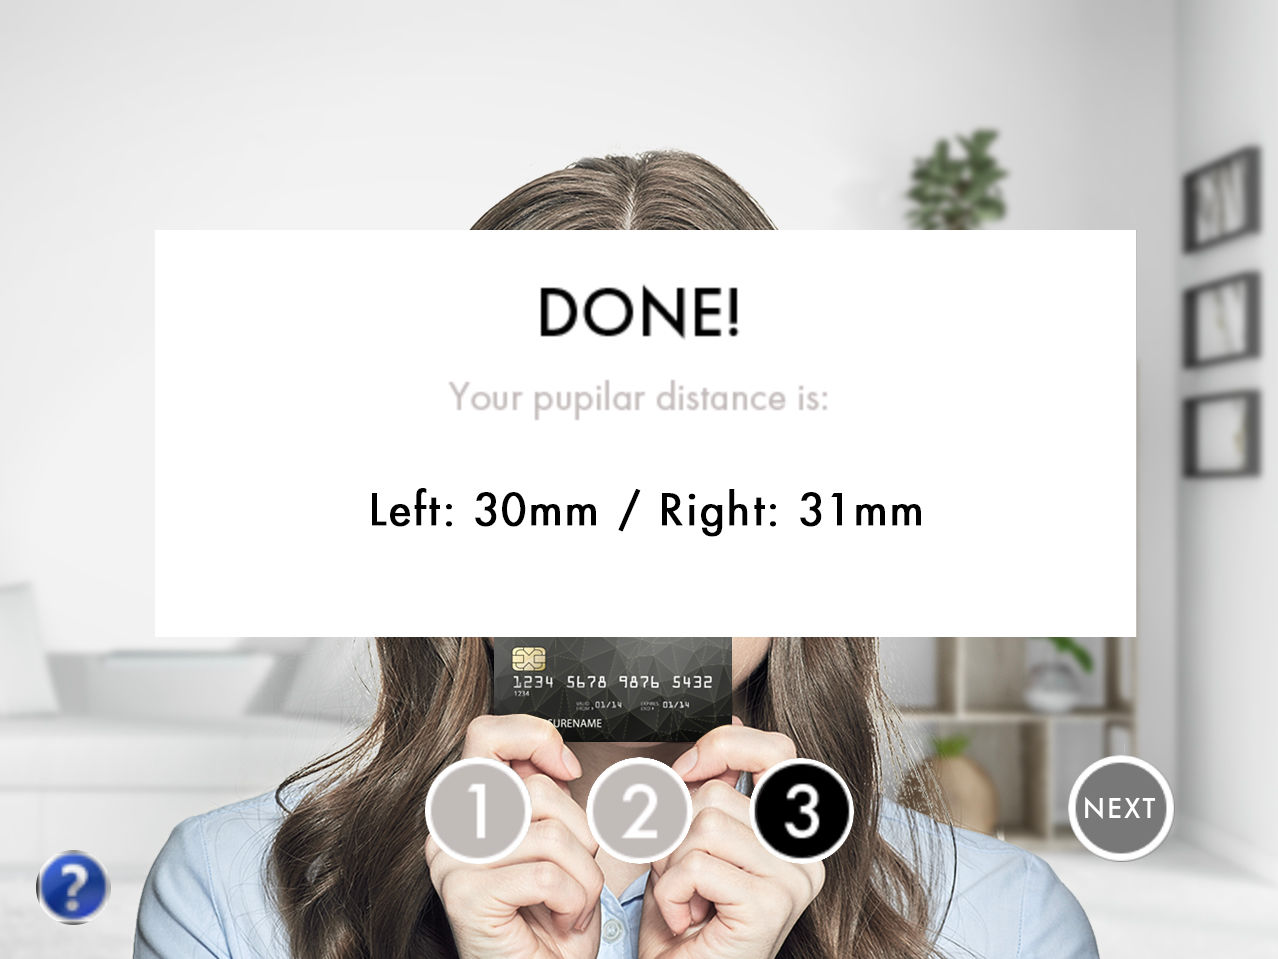
That’s it! Your measurement should read out on the screen, and if you mistakenly dismissed the window, the PD measurement page should also now read out your numbers so you won’t have to do it again.
For a more accurate measurement, we encourage you to use the tool up to three times.
Note: If you are unsure of your measurement, please consult your optometrist or eye doctor.
Average Pupillary distance:
- Adults 54 – 74mm
- Kids 43 – 54mm


